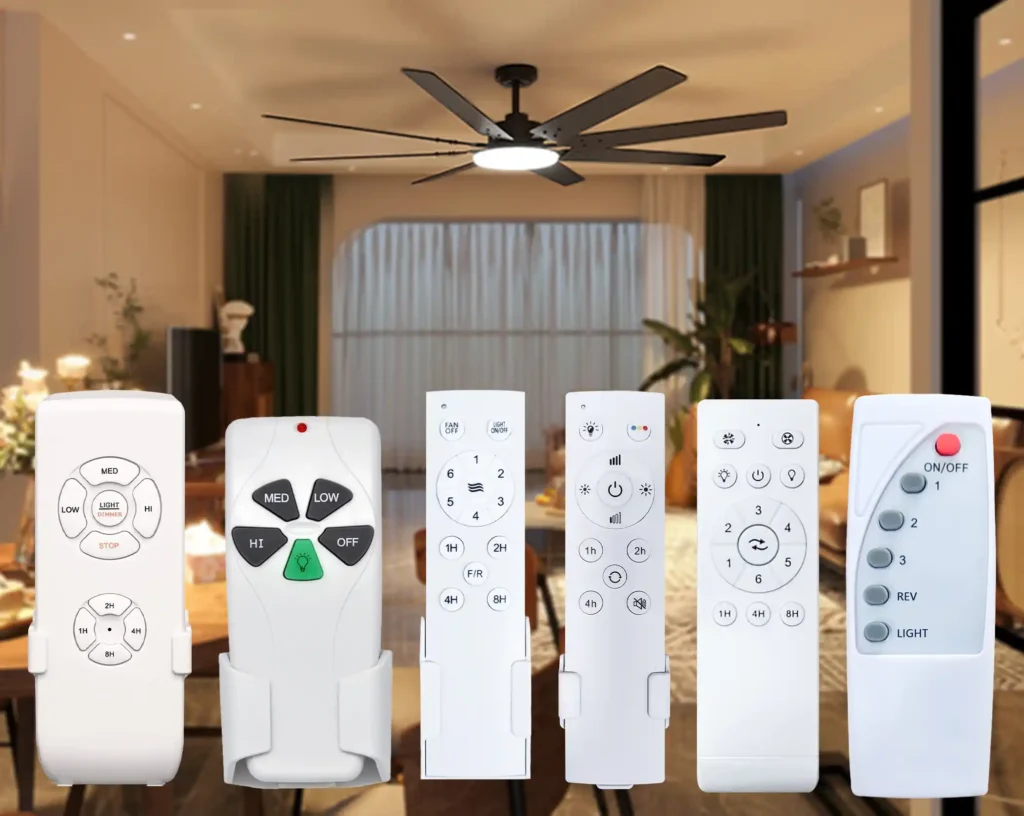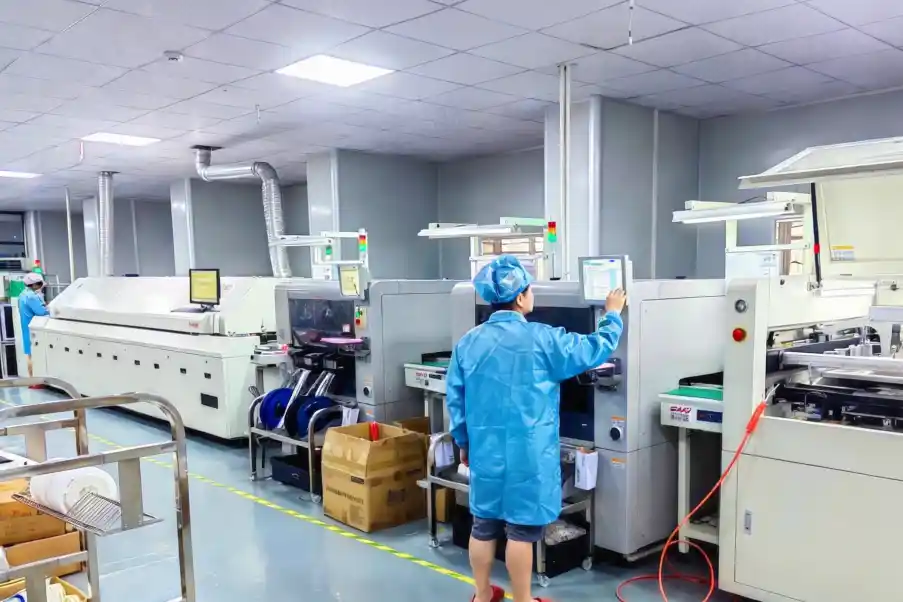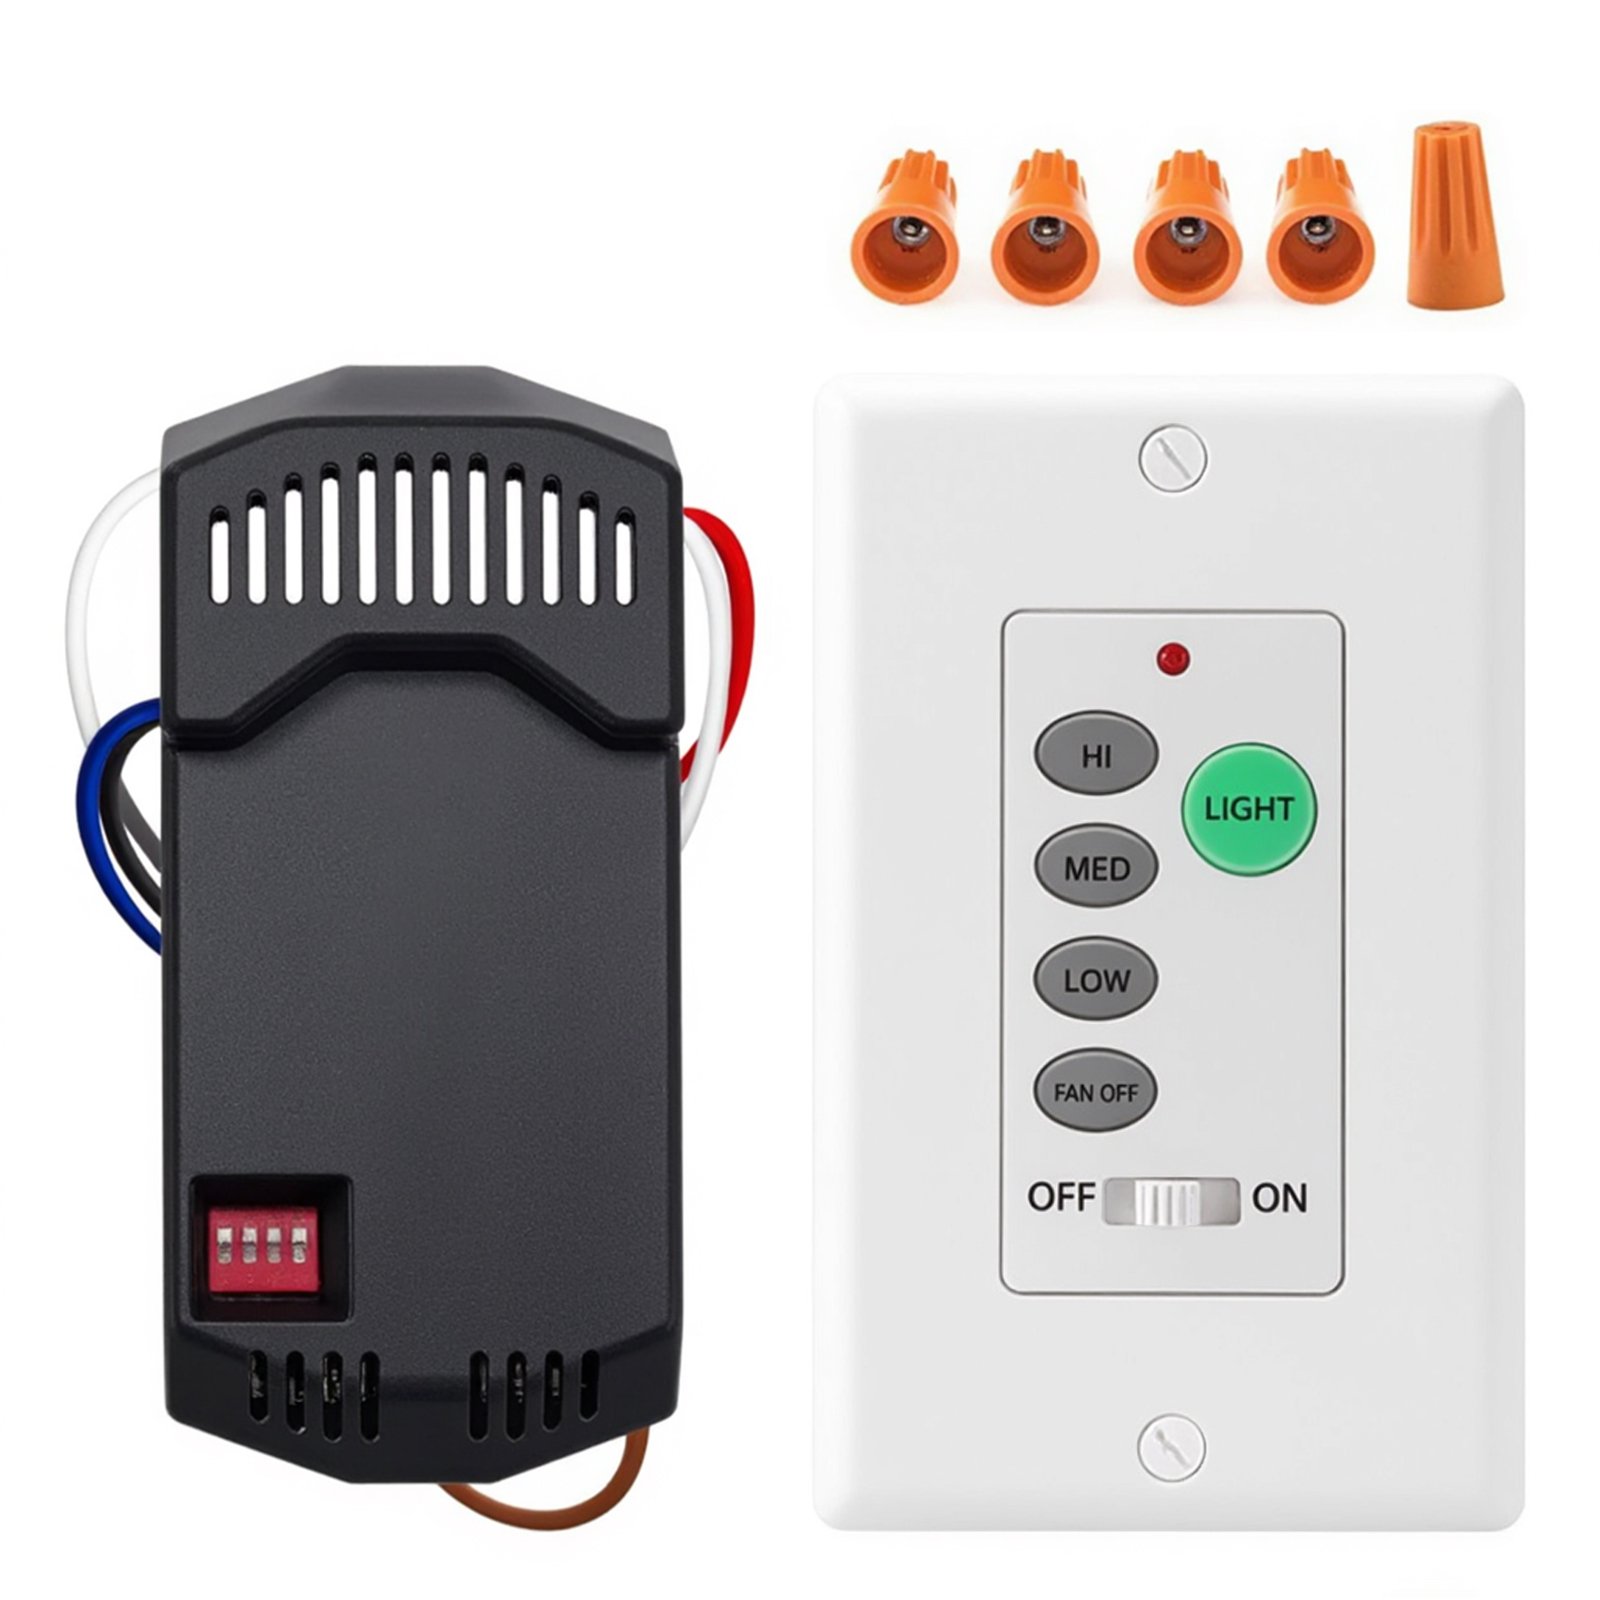
You have a ceiling fan product line ready to launch. You have a brand to maintain and a specific feature set in mind. But the remote that came with your fan does not match your vision. Maybe the button layout feels wrong. Maybe the frequency does not work for your target market. Or maybe you just need your logo on the transmitter.
You start asking manufacturers about custom development, and the answers get vague. Timelines stretch. Costs become unclear. Your launch date hangs in the balance. This article clears up the confusion so you can plan with confidence.
A custom ceiling fan remote typically takes 8 to 16 weeks from design approval to first shipment. This assumes standard RF 433.92 MHz technology and no major tooling changes. More complex projects — with new molds, Bluetooth or Wi-Fi, or multi-region certifications — can stretch to 20 weeks or longer.
Knowing the timeline matters. A custom remote is rarely a simple sticker swap. It involves circuit design, firmware, tooling, testing, and compliance work. Each step has its own lead time. Below, I walk through the full process stage by stage so you know what you are signing up for.
What Are the Main Stages of Custom Ceiling Fan Remote Development?
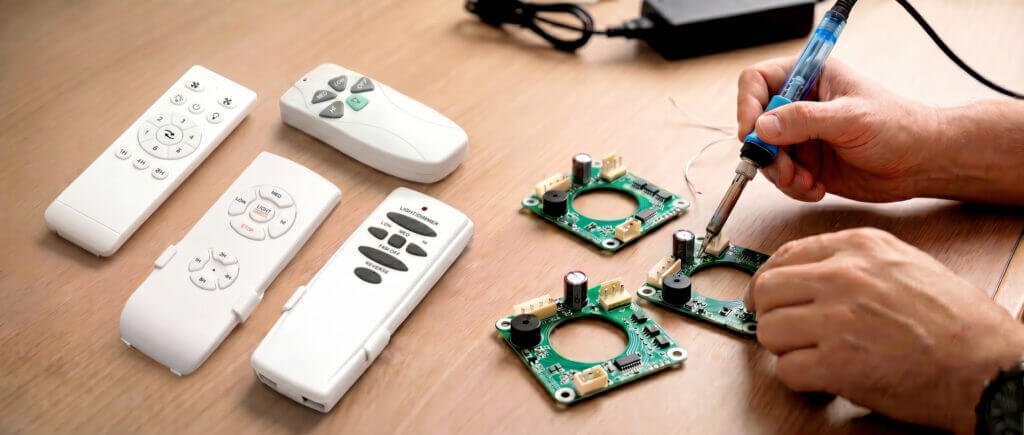
A custom ceiling fan remote project moves through six stages. Skip or rush any one of them, and you will likely face rework later.
The six stages are:
- Requirement confirmation — finalize buttons, frequency, functions, branding
- Design and engineering — PCB layout, firmware, mechanical design
- Prototyping — build working samples for testing
- Tooling — create injection molds for housing and buttons
- Certification — FCC, CE, UL, or other regional testing
- Mass production — assembly, QC, packaging, shipment
Each stage depends on the one before it. You cannot prototype without a design. You cannot certify without a prototype. You cannot ship without certification.
Here is a quick overview before we go deeper:
| Stage | What Happens | Typical Duration |
|---|---|---|
| Requirement Confirmation | Finalize button layout, frequency, functions, branding | 1–2 weeks |
| Design & Engineering | PCB layout, firmware coding, mechanical design | 2–4 weeks |
| Prototyping | Build functional samples for testing | 1–3 weeks |
| Tooling | Create injection molds for housing and buttons | 3–6 weeks |
| Certification | FCC, CE, UL, or other regional testing | 2–8 weeks |
| Mass Production | Assembly, QC, packaging, and shipment | 2–4 weeks |
The total calendar time is not just the sum of these numbers. Some stages can overlap. I explain how later.
How Long Does Each Development Stage Typically Take?
Let me break down each stage so you can build a realistic schedule.
Requirement Confirmation (1–2 Weeks)
This stage looks simple but often causes the biggest delays. You and the manufacturer must agree on every detail:
- Number of buttons and what each one does
- Operating frequency (315 MHz or 433.92 MHz are most common)
- DIP switch or learning code pairing
- Battery type
- Housing color
- Silk-screen printing on buttons
- Whether the receiver is included
If your requirements change mid-project, the clock resets on design work. One change can add two to four weeks. I have seen projects stretch from 10 weeks to 16 weeks just because the buyer kept adjusting the button layout after the PCB was already done.
Design and Engineering (2–4 Weeks)
Once requirements are locked, the engineering team designs the circuit board, writes the firmware, and prepares the housing design. For a standard RF remote using common chips, this takes about two to three weeks.
Need custom firmware logic — like a specific fan speed sequence, timer behavior, or dimming curve? Add another week.
Bluetooth and Wi-Fi remotes take longer. They typically need three to four weeks. The firmware is more complex, and the antenna design must be tuned inside the remote housing.
Prototyping (1–3 Weeks)
After the design files are ready, the factory builds a small batch of working samples — usually 5 to 20 units. These are hand-assembled or built with soft tooling. You receive them, test them with your actual ceiling fan, and give feedback.
- One round of prototypes is standard
- Two rounds are common when firmware needs adjustment
- Three rounds suggest the requirements were not clear upfront
Each extra prototype round adds one to two weeks.
Tooling (3–6 Weeks)
If your custom remote needs a new housing shape — not just a color change or logo on an existing shell — you need new injection molds. A simple two-part mold takes three to four weeks. Multi-part molds with overmolding, soft-touch grips, or complex battery doors take five to six weeks.
Mold texturing, polishing, and first-shot samples add another one to two weeks. This is often the single longest stage you cannot compress.
Certification (2–8 Weeks)
The timeline depends on your target market. FCC certification for the US can take two to four weeks if the design passes on the first try. CE for Europe is similar. If you need both, you can run them in parallel or one after the other.
UL or ETL certification for the receiver takes longer — often four to eight weeks. That is because it involves safety testing, not just RF emissions testing. Plan for this early if you will sell through retail channels that require NRTL listing.
Mass Production (2–4 Weeks)
Once everything is approved, the factory schedules production. They source parts in bulk, assemble units, run quality control, package them, and prepare shipment.
Component lead times can affect this stage. During global chip shortages, I have seen this stage stretch from two weeks to six weeks or more.
What Factors Can Speed Up or Slow Down the Timeline?
Several factors can shorten or extend your project. Knowing them helps you make smarter trade-offs.
| Factor | Speeds Up Timeline | Slows Down Timeline |
|---|---|---|
| Housing | Use an existing mold with custom printing | Create a completely new housing design |
| Frequency | Use standard 433.92 MHz | Request non-standard frequency bands |
| Pairing Method | Use proven DIP switch or learning code | Develop a proprietary pairing protocol |
| Certifications | Target one region only | Target multiple regions at once |
| Firmware | Use factory’s existing code base | Request custom behavior for every function |
| Communication | Provide clear requirements upfront, respond quickly | Change requirements mid-project or delay feedback |
| Receiver | Use existing receiver design | Develop a new receiver from scratch |
The single biggest accelerator is using an existing mature platform. That means a proven remote design where you change only colors, printing, and maybe button mapping. This can cut the total timeline to 6 to 8 weeks because engineering, prototyping, and tooling are already done.
The single biggest slowdown is changing requirements after engineering has started. I cannot stress this enough.
What Is the Difference Between OEM and ODM Development Timelines?
Buyers often use “OEM” and “ODM” loosely. But they mean very different timelines in practice.
ODM (Original Design Manufacturing) means the factory already has a working remote design. You choose from existing options, add your branding, and maybe adjust button colors or printing. That is it. Timeline: 4 to 8 weeks, because you skip design, engineering, and tooling. You may still need certification if you sell under your own brand in a regulated market.
OEM (Original Equipment Manufacturing) means you bring your own design — or the factory builds one to your unique specs. This is a full custom project. Timeline: 12 to 20 weeks, because every stage is required.
Here is a quick comparison:
| ODM | OEM | |
|---|---|---|
| Design work | None or minimal | Full custom design |
| Tooling | Existing molds used | New molds often required |
| Typical timeline | 4–8 weeks | 12–20 weeks |
| MOQ | Lower, often 500–1000 units | Higher, often 2000–5000 units |
| Unit cost | Lower | Higher |
| Uniqueness | Shared platform | Exclusive design |
If speed matters more than uniqueness, ODM is the practical choice. If your brand needs a distinct remote that stands out in the market, OEM is the right path — just plan the timeline with care.
How Long Do Certifications and Compliance Testing Take?
Certification is the stage most first-time buyers underestimate. I have seen projects where the remote was ready in 10 weeks, but FCC certification added five more weeks. That pushed the shipment date past the buyer’s trade show.
Here is a realistic breakdown by market:
| Certification | Region | Typical Duration | Notes |
|---|---|---|---|
| FCC (Part 15) | United States | 2–4 weeks | RF emissions testing required |
| IC (ISED) | Canada | 2–4 weeks | Similar to FCC, can often run in parallel |
| CE (RED) | European Union | 3–5 weeks | Radio Equipment Directive compliance |
| UKCA | United Kingdom | 3–5 weeks | Post-Brexit requirement |
| RCM | Australia/New Zealand | 3–6 weeks | Requires local representative |
| UL / ETL | United States (retail) | 4–8 weeks | Safety certification for receiver |
| FCC + CE combined | US and EU markets | 5–8 weeks | Can partially overlap |
If your remote uses a pre-certified RF module inside, the certification timeline can shorten a lot. The module already carries its own FCC or CE approval. This is a smart approach when time is tight.
What Should Buyers Prepare Before Starting a Custom Remote Project?
Walking into a factory meeting without preparation is the fastest way to lose weeks at the requirements stage. Here is what you should have ready before you contact a manufacturer.
- Know your target market. This determines your frequency (315 MHz for some legacy US systems, 433.92 MHz for most worldwide use), your certification needs, and your labeling requirements.
- Prepare a function list. Write down exactly what each button should do. Do you need separate light on/off and dimming? A timer? A walk-away delay? A comfort breeze mode? A reverse function? Be specific.
- Bring reference samples or images. If you have seen a remote you like — the shape, the button feel, the layout — share it. This saves weeks of back-and-forth about subjective preferences.
- Decide your pairing method. Learning code (auto-pairing) is common in consumer products. DIP switches are popular where users want simple, discrete pairing without holding buttons. Your choice affects the receiver design too.
- Know your budget and MOQ. Custom tooling costs real money. A simple remote mold can cost $2,000 to $5,000. A complex housing with soft-touch inserts can cost more. If your order quantity is small, a full OEM project may not make sense. An ODM approach with custom printing may serve you better.
How Can You Avoid Common Delays in Custom Remote Development?
I have watched projects sail through in 10 weeks and others drag past 20 weeks. The difference almost always comes down to a few things you can control.
- Lock requirements before design starts. Write them down. Sign off on them. Resist the urge to tweak the button layout after the PCB is done.
- Choose a manufacturer with in-house engineering. When the factory has its own PCB team, firmware engineers, and mold-making ability, communication is faster and accountability is clear. When these functions are outsourced to different suppliers, delays pile up.
- Test prototypes on your actual fan. A remote that works on the lab bench may behave differently in a real ceiling fan with a real motor and wiring. Test speed control at all levels. Test light dimming at all brightness steps. Test range through walls and floors.
- Plan certification early. Submit for FCC or CE as soon as the prototype is stable. Do not wait until mass production is about to start.
- Respond quickly. When the factory sends a question about a design detail, a one-week delay in your reply is a one-week delay in the project. There is no way around this.
Frequently Asked Questions
Can I get a custom ceiling fan remote in under 2 months?
Yes, if you choose an ODM approach using an existing housing and circuit design with only branding changes. With quick decisions and no new tooling, 6 to 8 weeks is realistic. Full OEM projects with new molds cannot be done this fast.
Do I need to provide my own design files to the manufacturer?
Not necessarily. Most factories can work from your written requirements, reference images, and function list. But if you have existing CAD files, PCB layouts, or firmware specs, sharing them can shorten the engineering stage by one to two weeks.
What is the minimum order quantity for a custom ceiling fan remote?
For ODM projects with minimal changes, MOQs often start around 500 to 1,000 units. For full OEM projects needing new molds, expect MOQs of 2,000 to 5,000 units. The mold cost must be spread across the production run.
How long does mold tooling take for a new remote housing?
A standard injection mold for a simple two-shell housing takes 3 to 4 weeks. Complex molds with multiple sliders, overmolding, or textured finishes take 5 to 6 weeks. First-shot sample review adds another week.
Does a custom remote project include the receiver too?
It depends on what you specify. If you need a matching custom receiver, the timeline grows by about 2 to 4 more weeks. The receiver has its own PCB design, firmware, and often its own housing and certification needs.
Can you rush the certification process?
Some test labs offer priority scheduling for an extra fee. This can cut one to two weeks from the timeline. But if the product fails testing, the re-test cannot be rushed. The design must be fixed first.
Conclusion
A custom ceiling fan remote takes anywhere from 6 weeks for a simple branded ODM product to 20 weeks or more for a full OEM design with new tooling and multi-region certifications. The key is locking your requirements early, choosing the right development path for your timeline and budget, and working with a manufacturer that controls the full process in-house.
For more information about ceiling fan remote control solutions, visit https://huashifs.com.